Field notes A-803
Curbless showers on 2x8 joists: build the floor up, do not cut it down
How to get a flat-entry shower into a pre-war house without notching joists, plus the waterproofing sequence and the flood test we document on every bath.
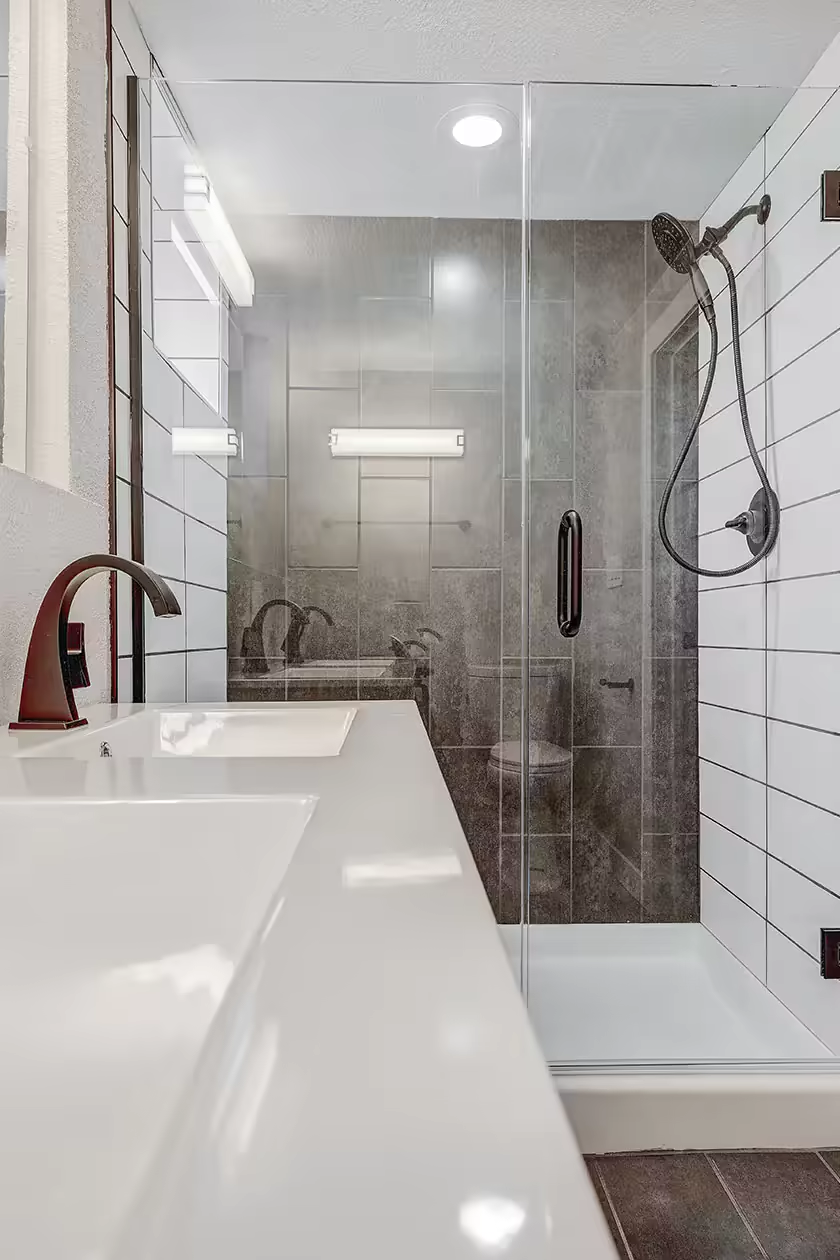
A curbless shower needs two things: a drain low enough to sit below the finished floor, and enough fall across the shower pan to get water to it. In new construction you plan for both. In a 1912 four-square with 2x8 joists at 16 inches on centre, you have neither, and the usual solution is the wrong one.
The usual solution, and why we do not use it
The common approach is to notch or drop the joists in the shower area so the pan can be recessed. On paper it works. In a house this age it is a bad trade.
A 2x8 is 7-1/4 inches of actual depth. Code allows notching in the outer third of the span and limits the depth to a sixth of the member. That gives you about an inch and a quarter in a place a shower drain usually is not. Anyone cutting deeper than that is quietly removing structure from a floor that has been carrying a bathroom for a century.
Sistering helps, but sistering a bay to then cut the sister is a circle. Dropping the joists entirely means opening the ceiling below, which on a house with original plaster means losing the plaster.
What we do instead
Build the floor up, and build the fall into the build-up.
On the Montclair bath we ran earlier this year, the sequence was:
- Sister the two bays either side of the new drain run, full span, glued and nailed to schedule.
- Fur the entire bathroom floor up 1-1/2 inches on tapered sleepers, ripped so the fall runs to the drain wall at a quarter inch per foot.
- Run the drain line inside that new 1-1/2 inches rather than through the joists at all.
- Sheet the whole floor in 5/8 plywood, glued and screwed.
The bathroom floor is now an inch and a half above the bedroom floor, which sounds like the same threshold problem in a different place. It is not, because the transition is spread across the doorway with a shallow ramped saddle, and because the shower itself, the part that had to be flat, is dead flat.
The plaster ceiling in the dining room below was never opened.
The drain
A linear drain at the wall is the right choice here, because it lets the whole pan fall in one direction instead of four. We use a 36-inch wall drain set tight to the tiled wall, so the visible grate reads as a shadow line rather than a fixture.
One detail that matters more than it should: the drain body has to be set and confirmed at the right height before the sleepers are cut, not after. Getting this backwards is the most common reason a curbless shower ends up with a low spot that never dries.
Waterproofing, in order
This is the part nobody photographs and everybody pays for eventually.
- Sheet membrane over the entire shower enclosure, walls and floor, and up onto the ceiling if the shower has a rain head.
- Banding on every seam, every inside corner, and every outside corner. The membrane is not the weak point. The joins are.
- Bonded seals at the valve and the shower arm, not just caulk.
- Pre-sloped pan bonded to the membrane, not floated on top of it.
Then the part that separates a warranty from a wish:
The flood test
Before any tile goes up, we plug the drain, fill the pan, mark the waterline, and leave it for twenty-four hours. Then we come back and read the mark, and we photograph both readings with the date.
If it has dropped, something is open and we find it while finding it costs a morning. If it has not, that photo goes in your handover binder.
We have run this test on every wet room since 2014. It has failed twice. Both times it was a drain body seal, both times it was fixed in a day, and both times the alternative was discovering it through a dining room ceiling eighteen months later.
Heat, while the floor is open
If the floor is already coming up, put heat in it. An uncoupling membrane with heating cable costs a fraction of the tile work happening above it, and a curbless shower means a wet floor that now dries. On a north-facing pre-war bathroom it is the single upgrade owners mention most a year later.
What it adds
Against a conventional curbed shower in the same room, expect the curbless version to add roughly $6,000 to $11,000: framing and furring, the linear drain, additional membrane and banding, and the frameless glass that a curbless opening usually wants.
For a bathroom somebody intends to still be using in twenty years, it is the most defensible money on the job.